One of the enhancements to FDMEE 11.1.2.4 is the functionality to utilize a HFM application not only as a Target but also as a Source. This step-by-step tutorial will demonstrate this functionality, e.g. extracting data from HFM instead of a file or ERP such as SAP or EBS. Our next post will demonstrate interfacing this data to an Essbase application as the target.

This post will proceed with version 11.1.2.4 of EPM installed on Windows Server 2012 R2 and with the COMMA4DIM HFM application.
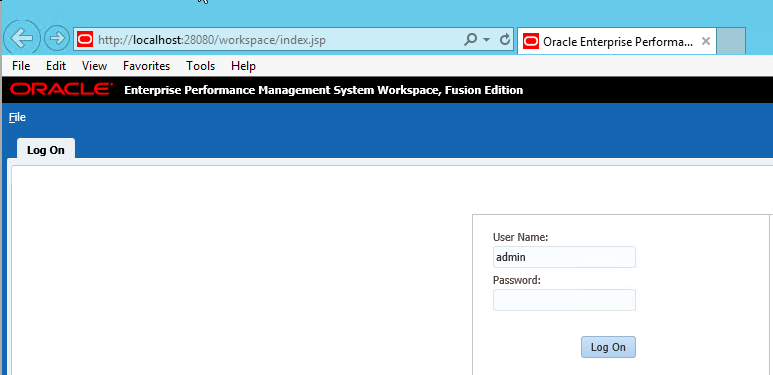
1. Log into Workspace.
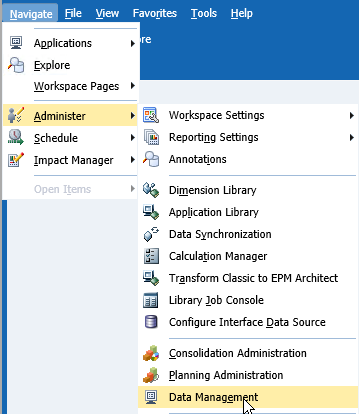
2. Navigate --> Administer --> Data Management.
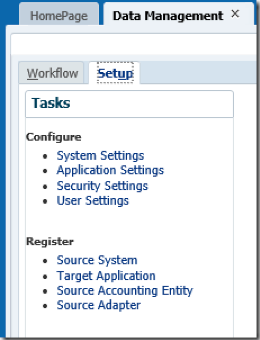
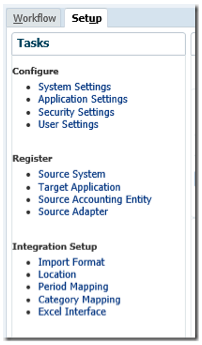
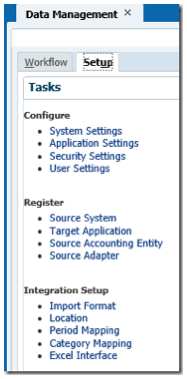
3. Select the Setup tab and then Target Application that will be the source and target in this example. EPM applications are not specified as a Source System.
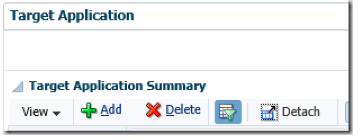
4. Select Add.
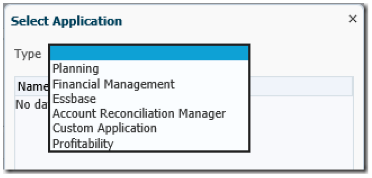
5. Select Financial Management.
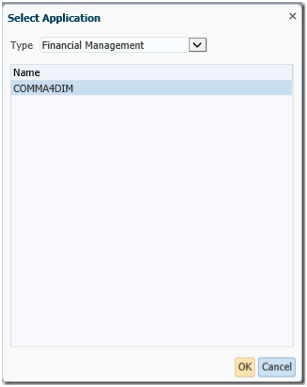
6. Select COMMA4DIM and then OK.
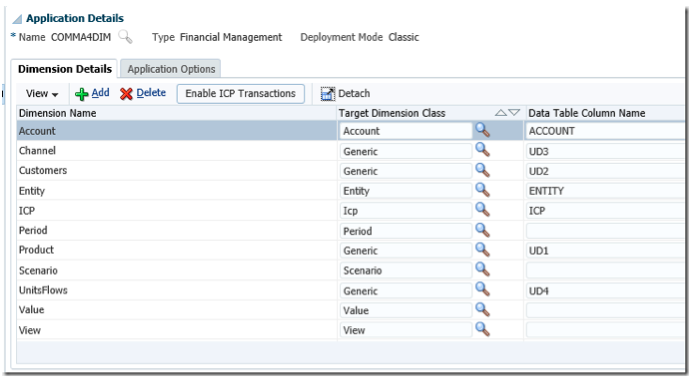
7. Select save after the Application Details have displayed.
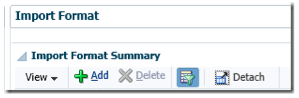
8. Select Import Format.
9. Select Add.
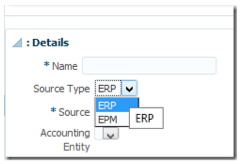
10. Select EPM as the Source, which enables the HFM application to be used as a Source.
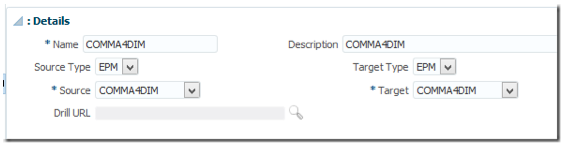
11. Update the remainder of the Import Format Details: Name, Description, and Source as COMMA4DIM and Target Type as EPM. Once this is done, select Save.
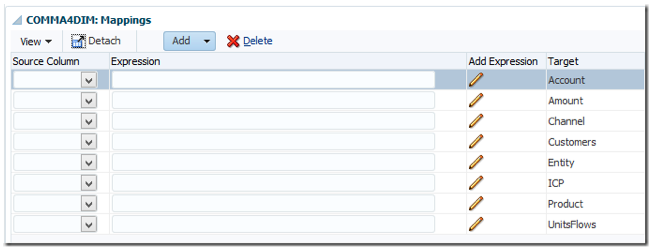
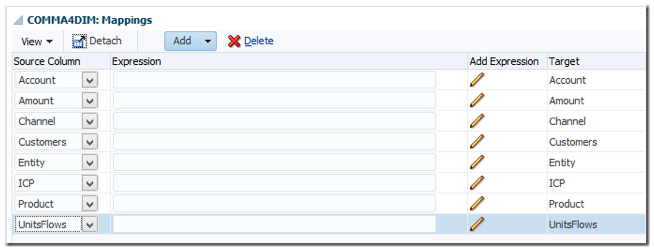
12. The COMMA4DIM mappings require an update, which in this circumstance will be to map the same Source Column to the same Target. Once the mapping is complete, select Save.
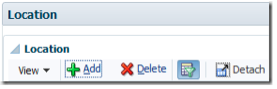
13. Select Location and then Add.
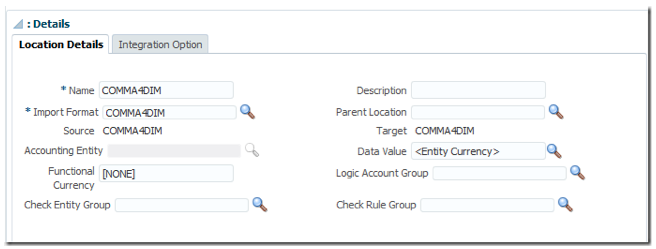
14. Update the Location Details to COMMA4DIM for Name and Import Format. The remainder of the Location Details are defaults and will not be changed in this example. Once the updates have occurred, select Save.
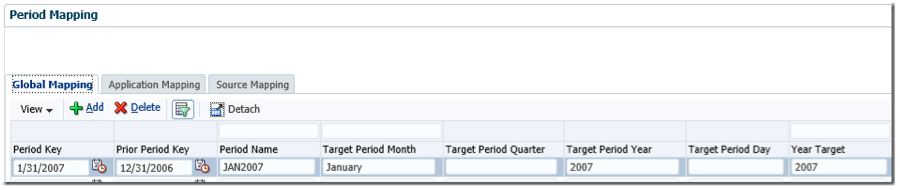
15. Select Period Mapping.
16. Create the Period Key by selecting Add and then keying the values displayed. The Target Period Month and Year Target will be utilized as the period and year filter for the data extract; therefore, the values keyed should be consistent with HFM. Select Save and proceed to the next step.
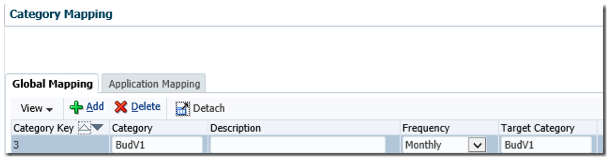
17. Select Category Mapping.

18. Key BudV1 as both the Category and Target Category with a Frequency of Monthly. Select Save once this has occurred.
19. Select Workflow and then Data Load Rule. If needed, update the FDMEE POV for the Location, Period, and Category created in the previous steps.
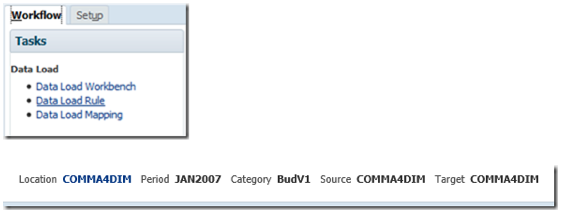
20. Select Data Load Rule and then Add.
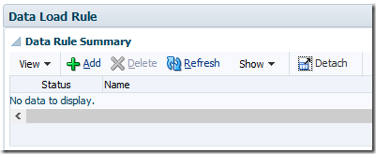
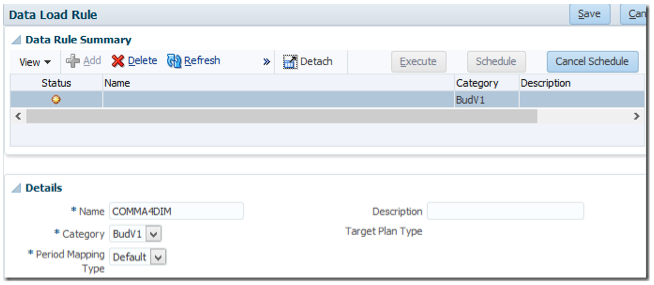
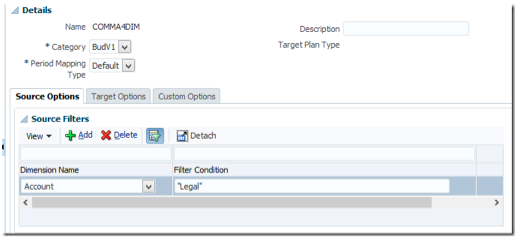
21. Name the rule COMMA4DIM and then select Save.
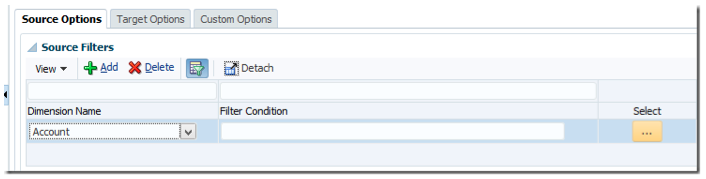
22. A Source Filter is needed for each Dimension Name, which can be selected from the drop down. Every HFM dimension must be specified. Note: Filter Conditions, which provide data from the extract, will be specified. The Year and Period dimension will not be specified.
Select Add to specify a filter, and then from the Dimension Name drop down select Account then the Ellipsis.
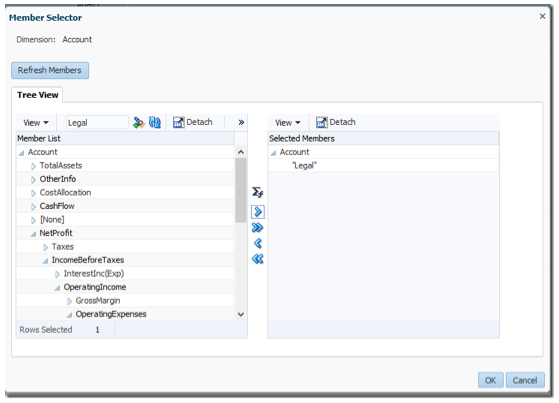
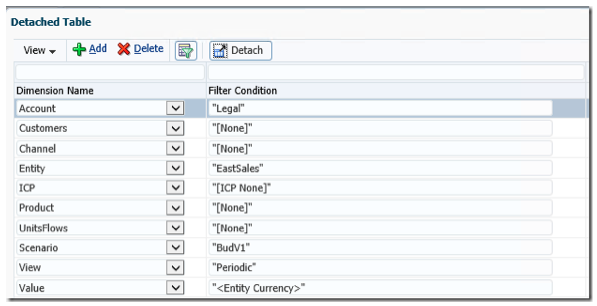
23. Select Refresh Members and then Online for the Member List to populate. Once this is done, the Legal member will be added to Selected Members and then OK will be selected. Note: Only select members that have data. Otherwise, zero records will be extracted, which will generate an error message.
24. The process of adding a Source Filter for dimensions Channel to View is the same process as Account; therefore, only the selections will be displayed. Once all filters are specified, select Save.
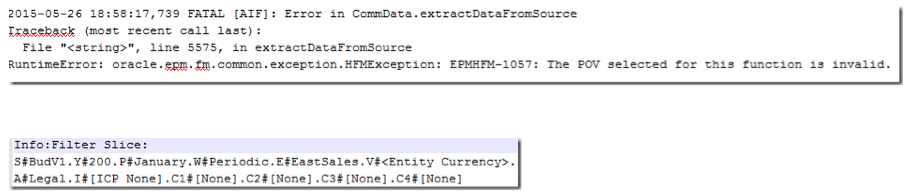
25. If a dimension is not specified or an invalid member is specified for a dimension, an error message similar to the image will be displayed in the log accessible from Process Details. For example, this error message was generated by an invalid year (Y#200 instead of Y#2007 in the Filter Slice).
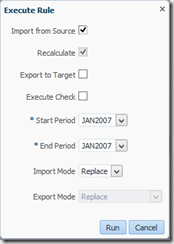
26. Select Execute.

27. When the Execute Rule dialog box displays, select the Import From Source option which automatically selects Recalculate. Once this is done, select Run.
28. Click OK.
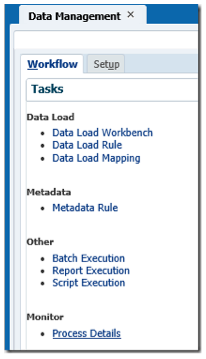
29. Select Monitor and then Process Details.
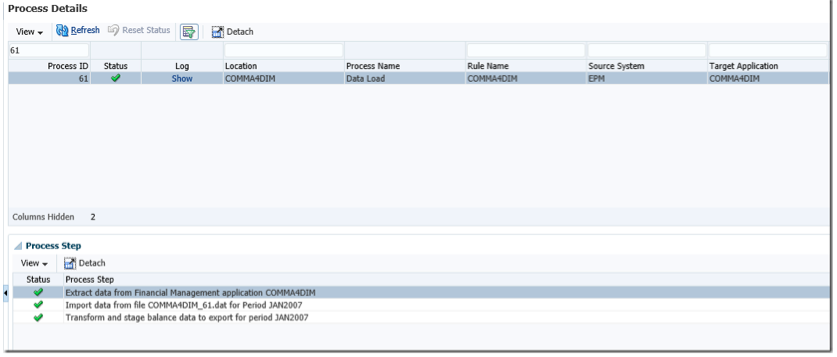
30. A successful completion is displayed for the Process ID submitted.
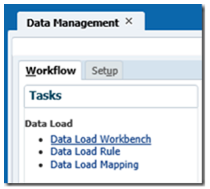
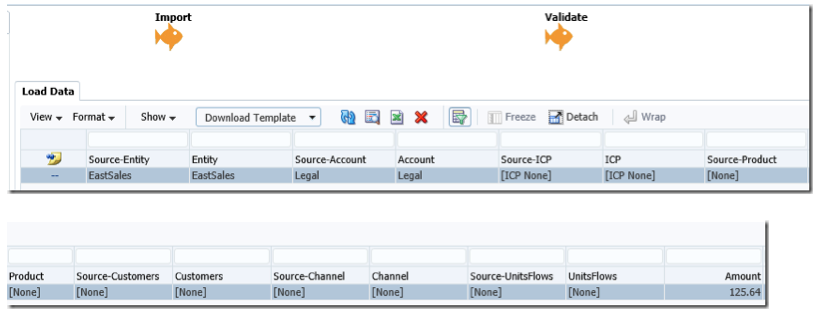
31. Select Data Load Workbench to view the record extracted.
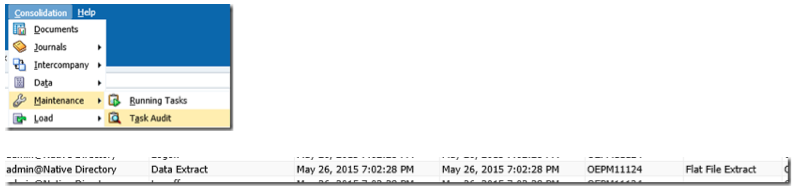
32. With a successful completion, select the COMMA4DIM application to review the HFM application log.
33. Once the application is accessible, select Consolidation --> Maintenance --> Task Audit, which will display the extract occurred as a Flat File Extract.