In previous FDMEE tutorials, we've talked about how to utilize HFM as a source and how to utilize Essbase as a Target.
One of the enhancements to FDMEE 11.1.2.4 is the functionality to utilize an Essbase application not only as a Target but also as a Source. Unfortunately, prior to PSU 11.1.2.4.100, the product had a bug that prevented this functionality. Now with the release and installation of PSU 11.1.2.4.100, bug 20747662 “Import from EPM source (Essbase) fails” has been resolved. This step-by-step tutorial will demonstrate this functionality, i.e. extracting data from an Essbase Block Storage “BSO” application.

This post will proceed with version 11.1.2.4.100 of FDMEE and 11.1.2.4.000 of the other EPM products mentioned installed on Windows Server 2012 R2 and with the Sample.Basic application.database.
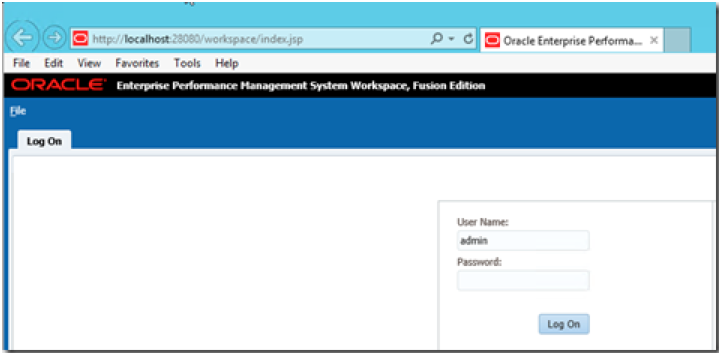
1. Log in to Workspace.
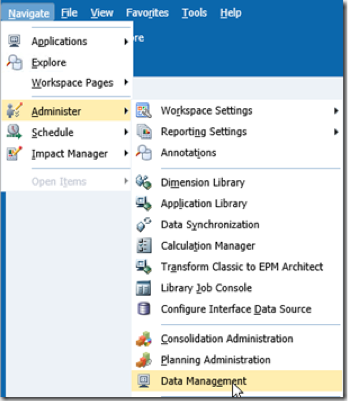
2. Select Navigate –> Administer –> Data Management.
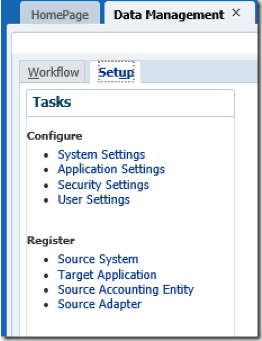
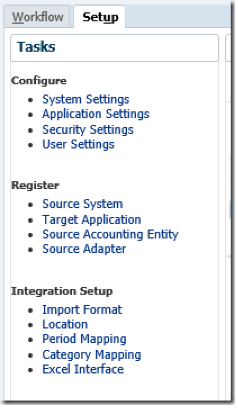
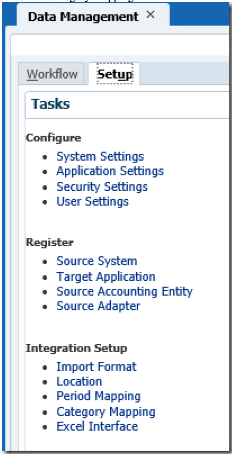
3. Select the Setup tab and then Target Application, which will be the source and target in this example. EPM applications are not specified as a Source System.
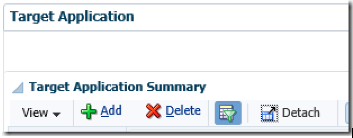
4. Select Add.
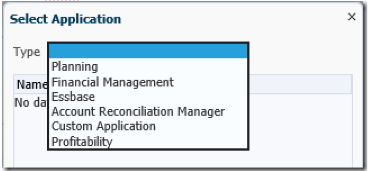
5. Select Essbase.
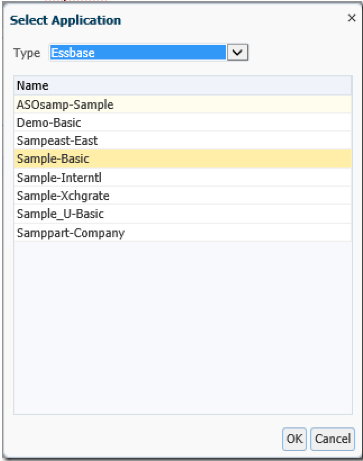
6. Select Sample.Basic and then OK.
7. Select Save after the Application Details have displayed.

8. Select Import Format.
9. Select Add.

10. Select EPM as the Source, which enables the Essbase application to be used as a Source.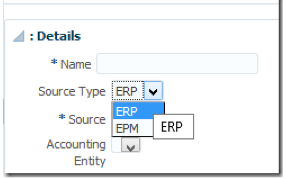
11. Update the remainder of the Import Format Details: Name, Description, and Source as Sample.Basic and Target Type as EPM. Once this is done, select Save.

12. The Sample.Basic mappings require an update, which in this circumstance will be to map the same Source Column to the same Target. Once the mapping is complete, select Save.


13. Select Location and then Add.

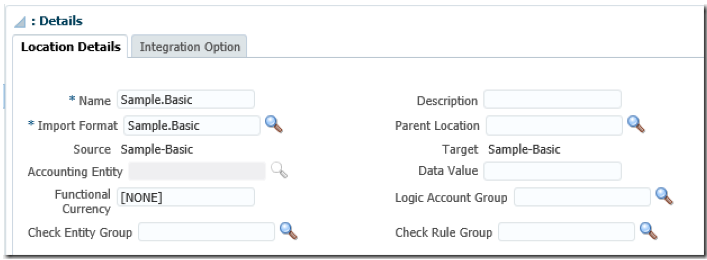
14. Update the Location Details to Sample.Basic for Name and Import Format. The remainder of the Location Details are defaults and will not be changed in this example. Once the updates have occurred, select Save.
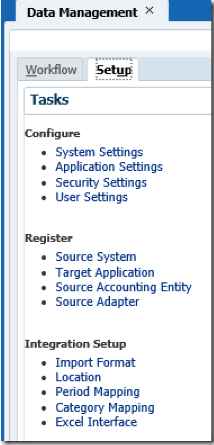
15. Select Period Mapping.
16. Create the Period Key by selecting Add and then keying the values displayed. The Target Period Month will be utilized as the period for the data extract; therefore, the values keyed should be consistent with the Year dimension. Select Save and proceed to the next step. Note: Year Target is not needed, but it is required by the interface.

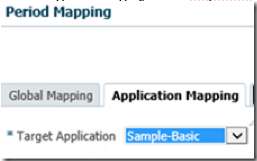
17. Select Application Mapping and then Sample.Basic from the Target Application drop down. Then select Add.

18. Select Period name JAN2015 and then OK.

19. Key Jan as the Target Period Month and then Jan as the Year Target. Once this is done, select Save. Jan is specified for the Year Target as the Year dimension in the application is months “MMM” at level 0.

20. Select Category Mapping.
21. Key ActBud as the Category and Budget as Target Category with a Frequency of Monthly. Select Save once this has occurred. Note: ActBud is an acronym for Actual to Budget, as this Data Load Rule is intended to represent the extracting of Actual data and loading to Budget for seeding purposes.


22. Select Workflow and then Data Load Rule. If needed, update the FDMEE POV for the Location, Period, and Category created in the previous steps.
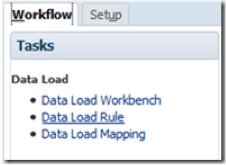

23. Select Data Load Rule and then Add.
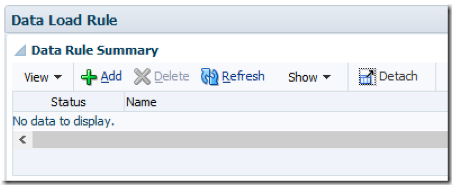
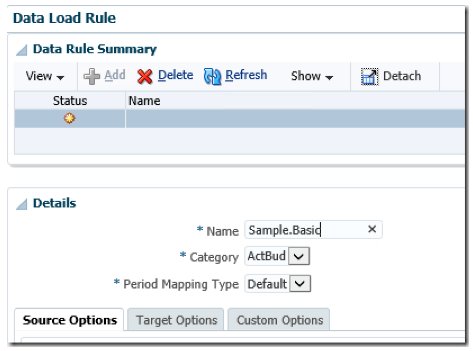
24. Name the rule Sample.Basic and then select Save.
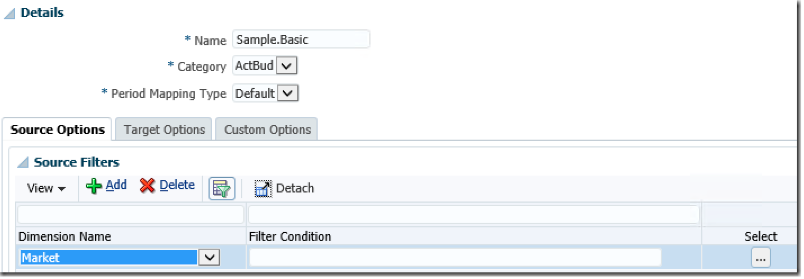
25. A Source Filter is needed for each Dimension Name, which can be selected from the drop down as every Essbase dimension must be specified. Filter Conditions will be specified which provide data from the extract. Reminder: The Period dimension is not specified.
Select Add to specify a filter. Then, from the Dimension Name drop down select Market and then the Ellipsis.
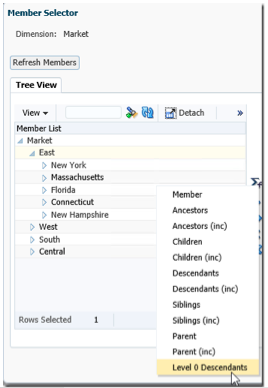
26. Expand Market and select East. Select the Function  symbol and pick Level 0 Descendants. Once this is done, select the greater than arrow
  to add the selection to the Selected Members and then OK. Note: Select members that have data — otherwise zero records will be extracted, which does not generate an error message.


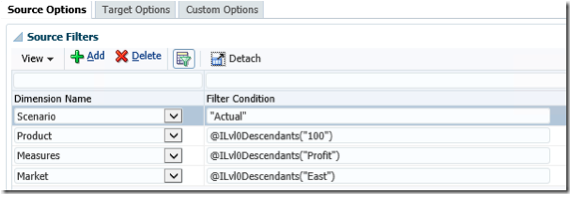
27. The process of adding a Source Filter for the other dimensions is the same process as Market; therefore, only the selections will be displayed. Once all filters are specified, select Save.
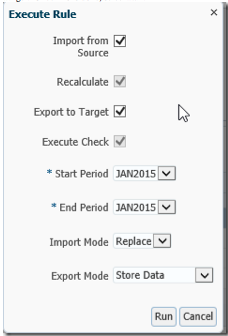
28. Select Execute. Note: Wildcard maps were previously created for each dimension except for Scenario, which is an explicit of Actual as the Source and Budget as the Target.

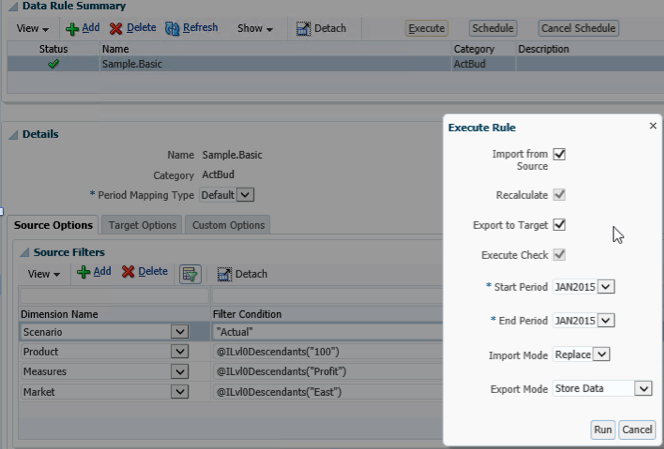
29. When the Execute Rule dialog box displays, select the Import From Source option, which automatically selects Recalculate, and then select Export to Target. Once this is done, select Run.
30. Click OK.

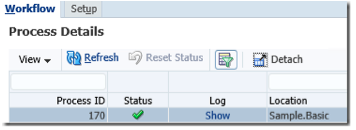
31. Select Monitor and then Process Details.
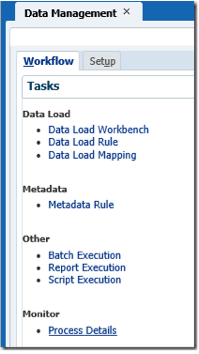
32. A successful completion is displayed for the Process ID submitted.


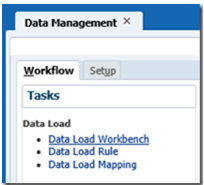
33. Select Data Load Workbench to view the records extracted.

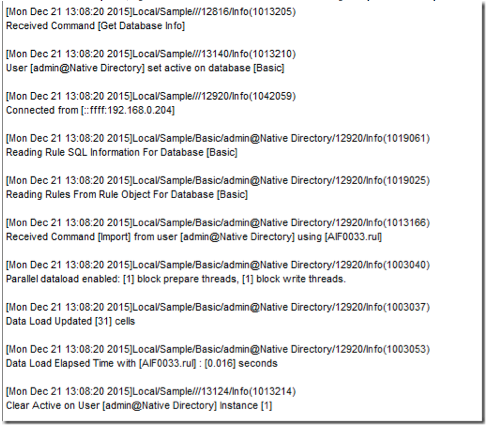
34. With a successful completion, log into Essbase Administrative Services to view the log, a sample of which is captured below.
35. Return to FDMEE and select Process Details. Then select Show for Process ID 170.
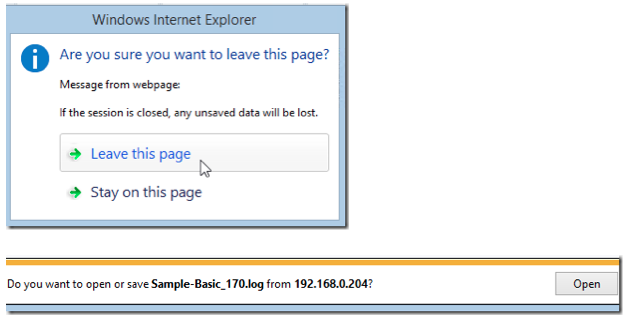
36. Depending on your browser settings, answer the dialog boxes appropriately to open the file. Based on my browser settings, I selected Leave this page and then Open.
37. Based on a review of the log, the extract of data occurs by the creation of a calculation script with the DATAEXPORT calculation command. The first four members / list of members in the FIX correspond to the Source Filters previously created, and the last member “Jan” equals the Target Period Month specified as the Period Application Mapping. The file created “SjR555ea91.txt” is temporary and is renamed to Sample_LoadID.dat and moved to the FDMEE application Data folder.
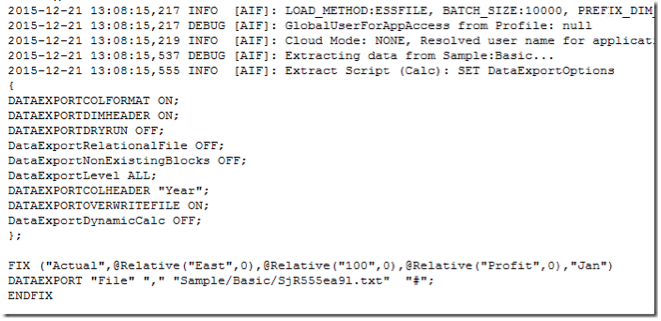
38. Further in the log, the Sample_171.dat file is imported, and because the ARCHIVE MODE is set to Move, an archive file is created.

39. The last step in this blog is the creation of an Essbase calculation script to clear the Scenario and Period prior to data being loaded. Log into Essbase Administrative Services and create a calculation script with RUNTIMESUBVARS. The RUNTIMESUBVARS are set to Feb and Actual for validation purposes only, as the values which will be set by Essbase from FDMEE are Jan and Budget.
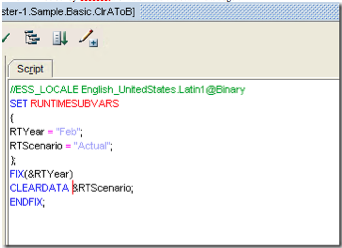
40. Select Setup –> Target Application –> Calculation Scripts.

41. Select Add and then key and/or select the following: Script Name ClrAToB, Script Scope Data Rule, Scope Entity Sample.Basic, and Event Before Data Load.
42. Select Calculation Script Parameter.

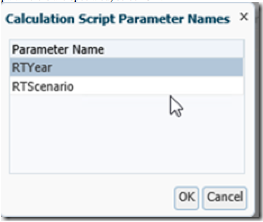
43. Select Add and then the Script Parameters binoculars.
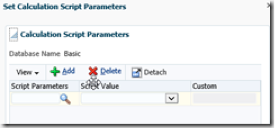
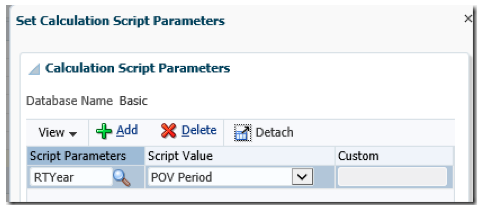
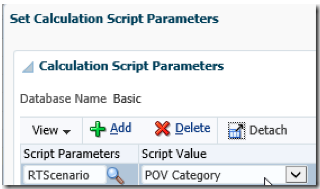
44. Select RTYear and then Script Value POV Period. Once this is done, repeat the process to set the RTScenario to POV Category. Once both parameters are specified, select OK.
45. Select Save from the Target Application dialog box and then select Workflow.

46. Repeat Step 29 for the Sample.Basic Data Load Rule.

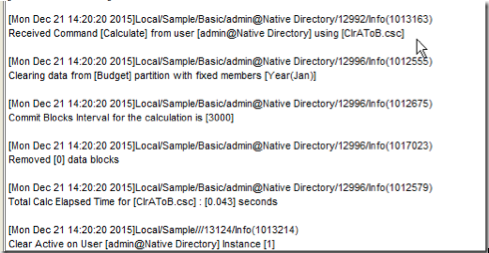
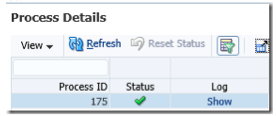
47. Select Process Details and then Show for Id 175. Search for ClrAToB, which will display the RTScenario parameter is set to Budget and RTYear is set to Jan.

48. The successful setting of the RUNTIMESUBVARS can also be verified from the Essbase Sample application log, as displayed in the excerpt from this log.
